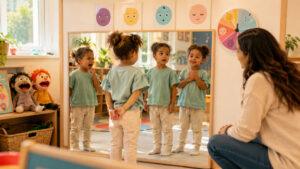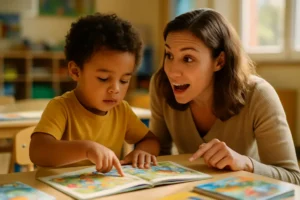
Imagine a place where creative projects do more than just look good. They help kids talk better. This happens when making things and learning words go hand in hand.
Structured Literacy principles say using all senses is important. Touching clay, seeing colors mix, and hearing scissors cut paper helps words stick. It’s a solid base for learning.
Letting kids choose, like picking red or blue paper, boosts their confidence. It’s a simple way to make them feel in control.
This fun, stress-free play helps kids use describing words, ask for things, and follow steps. They learn important art vocabulary and communication skills. These skills will help them in many areas of life.
Setting up a talk‑friendly art table with visuals and clean‑up plan
A well-organized art area is key for a language-rich experience. It helps your child focus on talking and creating. When everything is in its place, they can enjoy the process more.
Choose a small table or a section of a bigger one for art. Use bins, cups, or trays to sort supplies. This teaches your child about categories.
Visual Labels: Your Vocabulary Builders
Attach picture-and-word labels to each container. For example, a marker bin has a marker picture and the word “marker.” A crayon jar shows a crayon and the word “crayon.”
These labels teach your child about colors, shapes, and textures. A red paint cup labeled “red” with a red swatch helps them understand. A bin for felt pieces can have a label saying “soft” with a tactile sample.
| Label Type | Best For | Language Opportunity |
|---|---|---|
| Color Labels | Paint cups, marker bins, paper stacks | “Hand me the red cup.” “I used all the blue. |
| Shape Labels | Containers for shape cut-outs, stencils, stamps | “Find the circle stickers.” “This paper is a square.” |
| Texture Labels | Bins for fabric scraps, cotton balls, sandpaper | “The glitter is rough.” “I like the bumpy yarn.” |
| Tool Labels | Scissors, glue sticks, brushes, rollers | “Pass the scissors, please.” “We need the big brush.” |
For more ideas on setting up your space, check out these ideas for your home daycare art.
Art time shouldn’t be messy. A visual clean-up chart makes it easy and educational. Create a poster with photos showing each step.
This chart teaches sequencing words naturally. You can point and say, “First, put the caps on the markers. Next, place the markers in the blue bin. Then, wipe the table with a cloth.”
Here is a simple, effective clean-up routine to display:
- First: Cap all markers and glue sticks.
- Next: Sort tools back into their labeled bins.
- Then: Place paper scraps in the recycling container.
- Last: Wipe the table with a damp sponge.
Involve your child in making this chart. Let them take the photos or draw the pictures. This makes them more likely to follow the plan. The routine reduces power struggles and turns clean-up into a collaborative, language-filled finale.
Together, a labeled table and a clear clean-up plan create a secure, talk-friendly environment. Your child knows where things belong and what happens next. This lets everyone focus on the joy of making—and describing—art together.
Word banks for colors, textures, tools, and actions
Building a strong art vocabulary is like giving young artists new brushes. Each word adds detail and expression. Themed word banks help kids expand their language during projects.
This method follows the Structured Literacy principle of explicit instruction. By teaching and posting words, you help kids move from basic labels to detailed terms. It turns “blue” into “turquoise” and “stick” into “press” or “glide.”
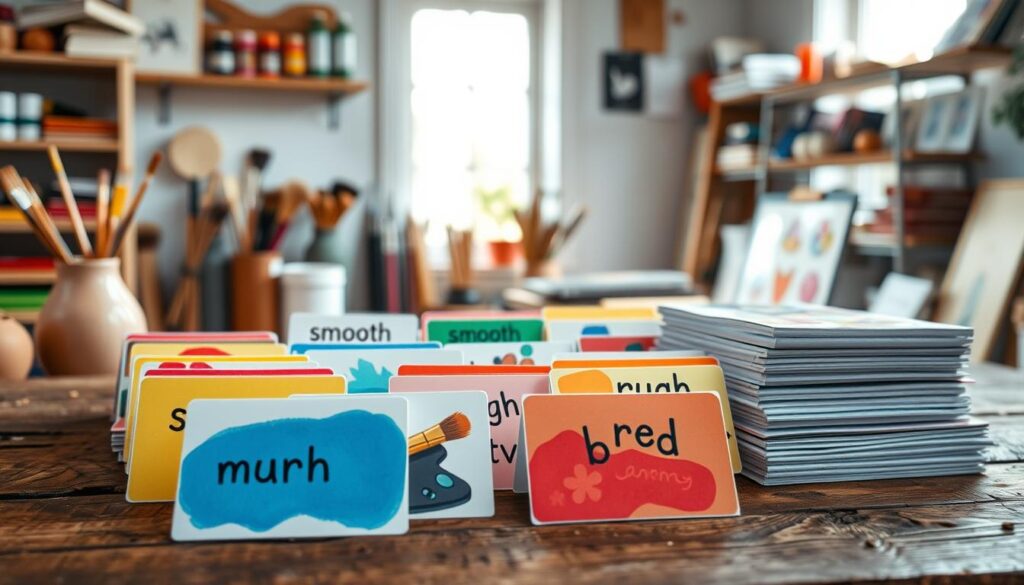
An effective word bank is more than a list. It organizes language into useful categories for kids to use during projects. Focus on colors, textures, tools, and actions to build a complete resource.
Here are examples of rich, descriptive words for your banks:
- Colors & Shades: magenta, crimson, turquoise, emerald, lavender, gold, silver.
- Textures & Shapes: bumpy, slick, gritty, fluffy, wavy, spiral, geometric, organic.
- Tool Names: brayer, sponge, palette knife, pipette, stencil, roller.
- Action Verbs: dab, smear, sprinkle, blend, stamp, layer, swirl.
Having words visible is just the start. The real magic happens when you use them. During art time, use this rich language yourself. Say, “I’m going to dab my sponge in the magenta paint to make a bumpy texture.”
Then, ask your child, “How does that clay feel?” or “What action will you use with the brayer?”
This practice gives kids the words they need to describe their art. It lets them make requests with precision and tell their story. Their confidence and ability to talk about colors, shapes, and textures will really show.
Start with a small bank for your next project. Watch as your little artist’s art vocabulary grows, one word at a time.
Language targets by age: requests, describing, sequencing, compare/contrast
Art activities can help kids reach important communication milestones. It’s all about matching your goals with your child’s age. This makes learning fun and not like a chore.
Choosing the right skills for your child’s age boosts their confidence. They get to use words and phrases they’re learning. Here’s a table showing the best language targets for three age groups.
Use this guide to pick what to focus on during craft time. Remember, every child is different. Feel free to adjust these ideas to fit your child’s interests and skills.
| Age Group | Primary Language Target | Example Phrases to Model | Art Activity Idea |
|---|---|---|---|
| Toddlers (1-3 years) | Simple Requests & Naming | “More paint.” “Help, please.” “Blue.” “Sticky.” | Finger Painting: Hold up two paint colors. Wait for your child to point or say which one they want. This practices requesting help and making choices. |
| Preschoolers (3-4 years) | Two-Word Phrases & Describing | “Big circle.” “Cut paper.” “Soft cotton.” “My turn.” | Collage Making: Provide fabrics, papers, and pom-poms. Ask, “How does it feel?” Encourage phrases like “bumpy button” or “smooth ribbon.” |
| Pre-K & Kindergarten (4-6 years) | Sequencing & Compare/Contrast | “First we draw, next we cut, last we glue.” “My sun is brighter than yours.” “This one is rough, but that one is smooth.” | Multi-Step Craft: Create a simple puppet. Narrate the steps using first/next/last. Afterward, line up two finished puppets and talk about how they are different. |
For toddlers, the goal is simple communication. Celebrate any attempt to ask for “more” or name a color. Keep your own sentences short and clear. This shows them how language works.
Preschoolers are ready to link words together. During art, focus on describing what you see and do. Use words for colors, shapes, textures, and actions. This builds their vocabulary in a hands-on way.
Older children can handle more complex thinking. Sequencing teaches them order and planning. The first/next/last structure is great for explaining craft steps. Compare/contrast skills grow when you discuss two artworks. Ask, “Which painting has more red?” or “Is your clay snake longer than mine?”
These targets turn any art project into a language-rich experience. You are not just making art. You are building the words your child needs to share their ideas with the world.
Eight low‑mess projects with parent scripts
Ready to mix creativity with talking? These eight low-mess crafts come with easy scripts to help your child’s language. Each project is easy to clean up and great for talking. The secret is the “parent script”—simple phrases to help your child describe, sequence, and make polite requests for help.
Think of these scripts as your guide for talking. They make a simple activity into a language lesson. Here’s a handy table to help you start quickly.
| Project | Key Materials | Language Target | Sample Parent Script |
|---|---|---|---|
| Contact Paper Collage | Clear contact paper, tissue paper scraps | Describing textures & colors | “I see you chose the crinkly red paper. Can you ask for help peeling the backing?” |
| Bubble Wrap Stamping | Bubble wrap, paint, paper | Action words & sequencing | “First, we dip. Next, we press. Tell me, ‘I need help pressing down hard.'” |
| Salt Dough Sculptures | Flour, salt, water, cookie cutters | Requesting tools & describing shapes | “This dough feels squishy. Can you request help with the star cutter?” |
| Tissue Paper Stained Glass | Tissue paper, glue, wax paper | Color names & comparing | “Is your blue darker than mine? Let’s ask for help spreading the glue.” |
| Yarn Wrapping | Yarn, cardboard shapes | Prepositions & requesting help | “Wrap the yarn around the circle. Say, ‘Can you hold this for me?'” |
| Cardboard Tube Binoculars | Toilet paper tubes, tape, string | Sequencing steps & describing | “First we tape, then we string. How do we request help tying a knot?” |
| Sponge Painting | Sponges, paint, paper plates | Describing actions & textures | “You’re dabbing the sponge. It makes a bumpy print. Can you hand me a new color?” |
| Nature Print Rubbings | Leaves, paper, crayons | Comparing/contrasting & polite requests | “This leaf has pointy edges. Can you politely ask for help holding the paper steady?” |
Let’s look closer at the Contact Paper Collage. Stick a large sheet of clear contact paper to a window, sticky side out. Give your child bits of tissue paper, feathers, or ribbon.
Your script might sound like this: “Ooh, you picked the shiny ribbon. It feels smooth. What should we do next? We need to place it. Can you ask me for help reaching the top?” This shows how to describe and creates a chance for requesting help.
For Salt Dough Sculptures, mixing the dough is fun. Use phrases like, “We need two cups of flour. Can you help me pour? This is a big job, we need to request help together.” When using cookie cutters, prompt, “Do you want the circle or the square? Tell me, ‘I need the square, please.'”
These projects are just the start. For more ideas, check out our list of creative toddler craft projects for home.
Remember, it’s not about making something perfect. It’s about the conversation you have. Use these scripts as a starting point, then follow your child’s lead. Soon, they’ll be describing, sequencing, and asking for help on their own.
Social language in group art: sharing tools and giving compliments
Group art is more than making art; it’s about learning to share and compliment. When kids create together, they practice talking and working together. This makes your art table a great place for learning social skills.
Sharing things like glue sticks or special markers is a big challenge. It’s a chance to teach kids how to politely ask and take turns. Use simple phrases that kids can easily follow and use themselves.
- “Your turn next.”
- “Can I share that with you?”
- “I’ll put it in the middle so we can both reach.”
These phrases help kids move from grabbing to talking. They learn that words can solve problems.
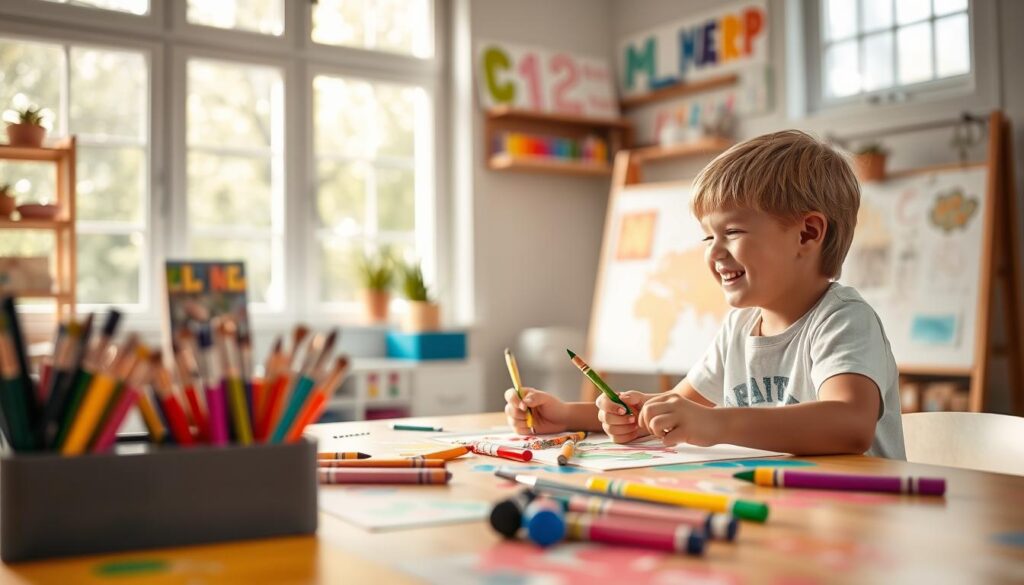
Art projects often need requesting help. A child might need help with scissors or opening a jar. Show them how to ask nicely. Encourage full sentences like, “May I use the purple crayon, please?” or “Can you help me open this?”
This practice in requesting help builds independence and respect. It teaches kids it’s okay to ask for help and how to do it right.
Giving compliments is also important. Saying more than just “good job” helps kids notice details and appreciate them. This is a more advanced way of comparing and contrasting.
Teach kids to give “kind and specific” feedback. Give them sentence starters to help them build their compliment vocabulary:
- “I love how you used…” (e.g., so many different shades of green).
- “It’s creative that you added…” (e.g., glitter to the sun).
- “The way you made that pattern is really cool.”
This kind of praise does two things. It makes the receiver feel seen and valued. It also helps the giver learn to observe and describe—key skills for language and compare/contrast activities.
These social interactions—sharing, requesting, and praising—build a positive and verbally rich creative community. Kids learn that art is not just about expressing themselves but also about connecting and communicating with others. They take these skills with them to the playground, classroom, and beyond.
Bilingual and AAC‑friendly supports (choice boards)
Help non-verbal or bilingual kids during crafts with picture-based choice boards. These tools make art time fun and inclusive. Every child can share their ideas.
Choice boards are inspired by Structured Literacy. They show images of materials, colors, and actions. Kids can point to “paint,” “blue,” or “cut” to choose.
This method is a game-changer for many young artists:
- Non-verbal children or AAC users can guide their own creativity without words.
- Bilingual learners connect new English art vocabulary with pictures, helping them learn.
- Younger children feel confident by making choices on their own.
The board helps kids understand art vocabulary by making it visual. They learn by doing and seeing, which helps them understand better.
Making a good choice board is easy. Start with the items you use most in your art studio. Here’s a simple guide:
- Materials: Pictures of crayons, markers, glue, construction paper, tissue paper.
- Colors: Swatches or images of basic paint and crayon colors.
- Actions: Icons for “cut,” “paste,” “draw,” “paint,” and “clean up.”
Place the board where kids can easily see it. Ask, “What do you need first?” and wait for them to point. This pause helps them think and respond, improving their communication skills.
Using choice boards does more than manage activities. It helps kids learn art vocabulary naturally and without stress. They connect pictures to real things, like “glue” to the sticky substance. For English learners, this visual connection is very helpful.
Choice boards are a great way to make art inclusive. They help kids feel independent, reduce frustration, and let every child have a say in their creativity. Watch as your little artist’s confidence grows with each choice they make.
Printable project cards and a describing mat
Concrete tools make language practice stick. Our printable project cards and describing mat give your Little Art Studio a final, practical boost.
The project cards feature simple crafts shown in three or four visual steps. They clearly show what to do first, next, and last. This visual sequence helps children grasp order and follow instructions independently.
The describing mat is a one-page printable with dedicated spaces for observations. It has prompts for color, shape, texture, and even the feeling the art creates. A child places their finished piece right on the mat.
Labeled sections guide the conversation. You can ask about the shiny silver glitter or the soft cotton ball texture. This scaffold turns a simple observation into rich descriptive language.
This tool naturally leads to a compare/contrast activity. Put two artworks on separate mats. Discuss which colors are the same or how the textures feel different.
Use these resources together. Follow the project card sequence from first to last. Then, use the describing mat to talk about the creation. This combo reinforces sequencing and detailed description in one fun session.
These downloads are designed for all learners. They pair perfectly with the bilingual supports and AAC choice boards mentioned earlier. Keep these tools at your art table for instant language opportunities.
Grab your free printables and turn every craft into a lasting language lesson. Your child’s ability to describe, sequence, and discuss their world will grow with each project.